Installation
For Supported Avatars
Importing the Package
- Open your project with VRChat Creator Companion (VCC).
- Add the Modular Avatar package to the VCC. (Here is the package link)
- In VCC’s Manage Project, add the following three items: "Gesture Manager," "Modular Avatar," and "Non-Destructive Modular Framework."
- Reopen the project and confirm they have been imported.
If versions prior to ver1.9.0 or a beta version of Motchiri Shader are already installed, please delete the motchiri_shader folder. (Do not delete the VGC folder, as it contains existing FX.)
Installing the Motchiri Shader
- Import the latest Motchiri Shader.
- Make sure the avatar’s existing shader is lilToon.
- Right-click the avatar, and in the menu select “wataameya → MotchiriShader.”
- A motchiri_shader_Setup object will be generated. Configure the avatar preset for it.
- Place the for test prefab found under “Asset/motchiri_shader” into the scene.
- In the top menu bar, select “Tools → Gesture Manager Emulator.”
- Start the Gesture Manager, bring for test near the skin, and if it squishes normally, you’re done.
If it’s not working properly, check “Troubleshooting” or “Q&A”.
For Unsupported Avatars
Installing the Motchiri Shader
The installation process is almost the same as for supported avatars.
Select “None” in the preset, and set up the mesh and mask.
If there is no mask, you will need to create one.
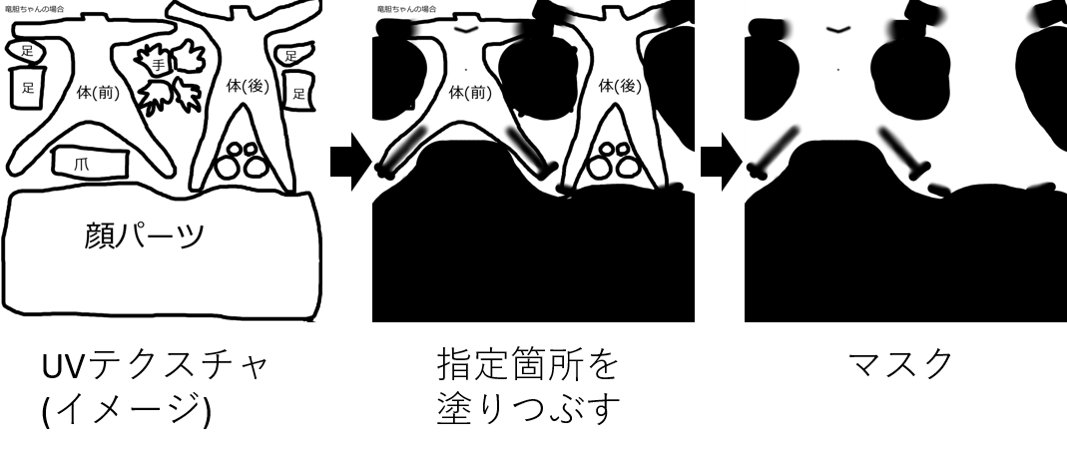
Creating a Mask
You need to create a mask on the avatar’s UV where you completely fill in black the areas you do NOT want to indent.
In the Motchiri Shader, areas that are white on the UV will indent, while areas that are black will not. (Gray acts as a mid-level strength.) Also, if there is a seam in the UV where the indentation differs, it can break, so set it to the same color. (It’s easy using texture paint in Blender.)
Use a painting tool to start with a white texture and fill in the hands and feet (and connected areas like the wrists and ankles) in black on the avatar’s UV. Make sure the boundary between the hands/feet and the rest of the body is also filled in black. Soften the boundary between white and black on the mesh.
- It’s not strictly required, but for a more natural indent, you can also fill in black on areas such as the neck, forearms, elbows, knees, navel, pelvis, and shins.
- If your face texture is shared with your body, fill in black for the face as well.
- After importing the mask into Unity, please make sure to enable Mip Streaming in the texture settings. (Otherwise, you may get an error at upload time.)
Example of Creation:
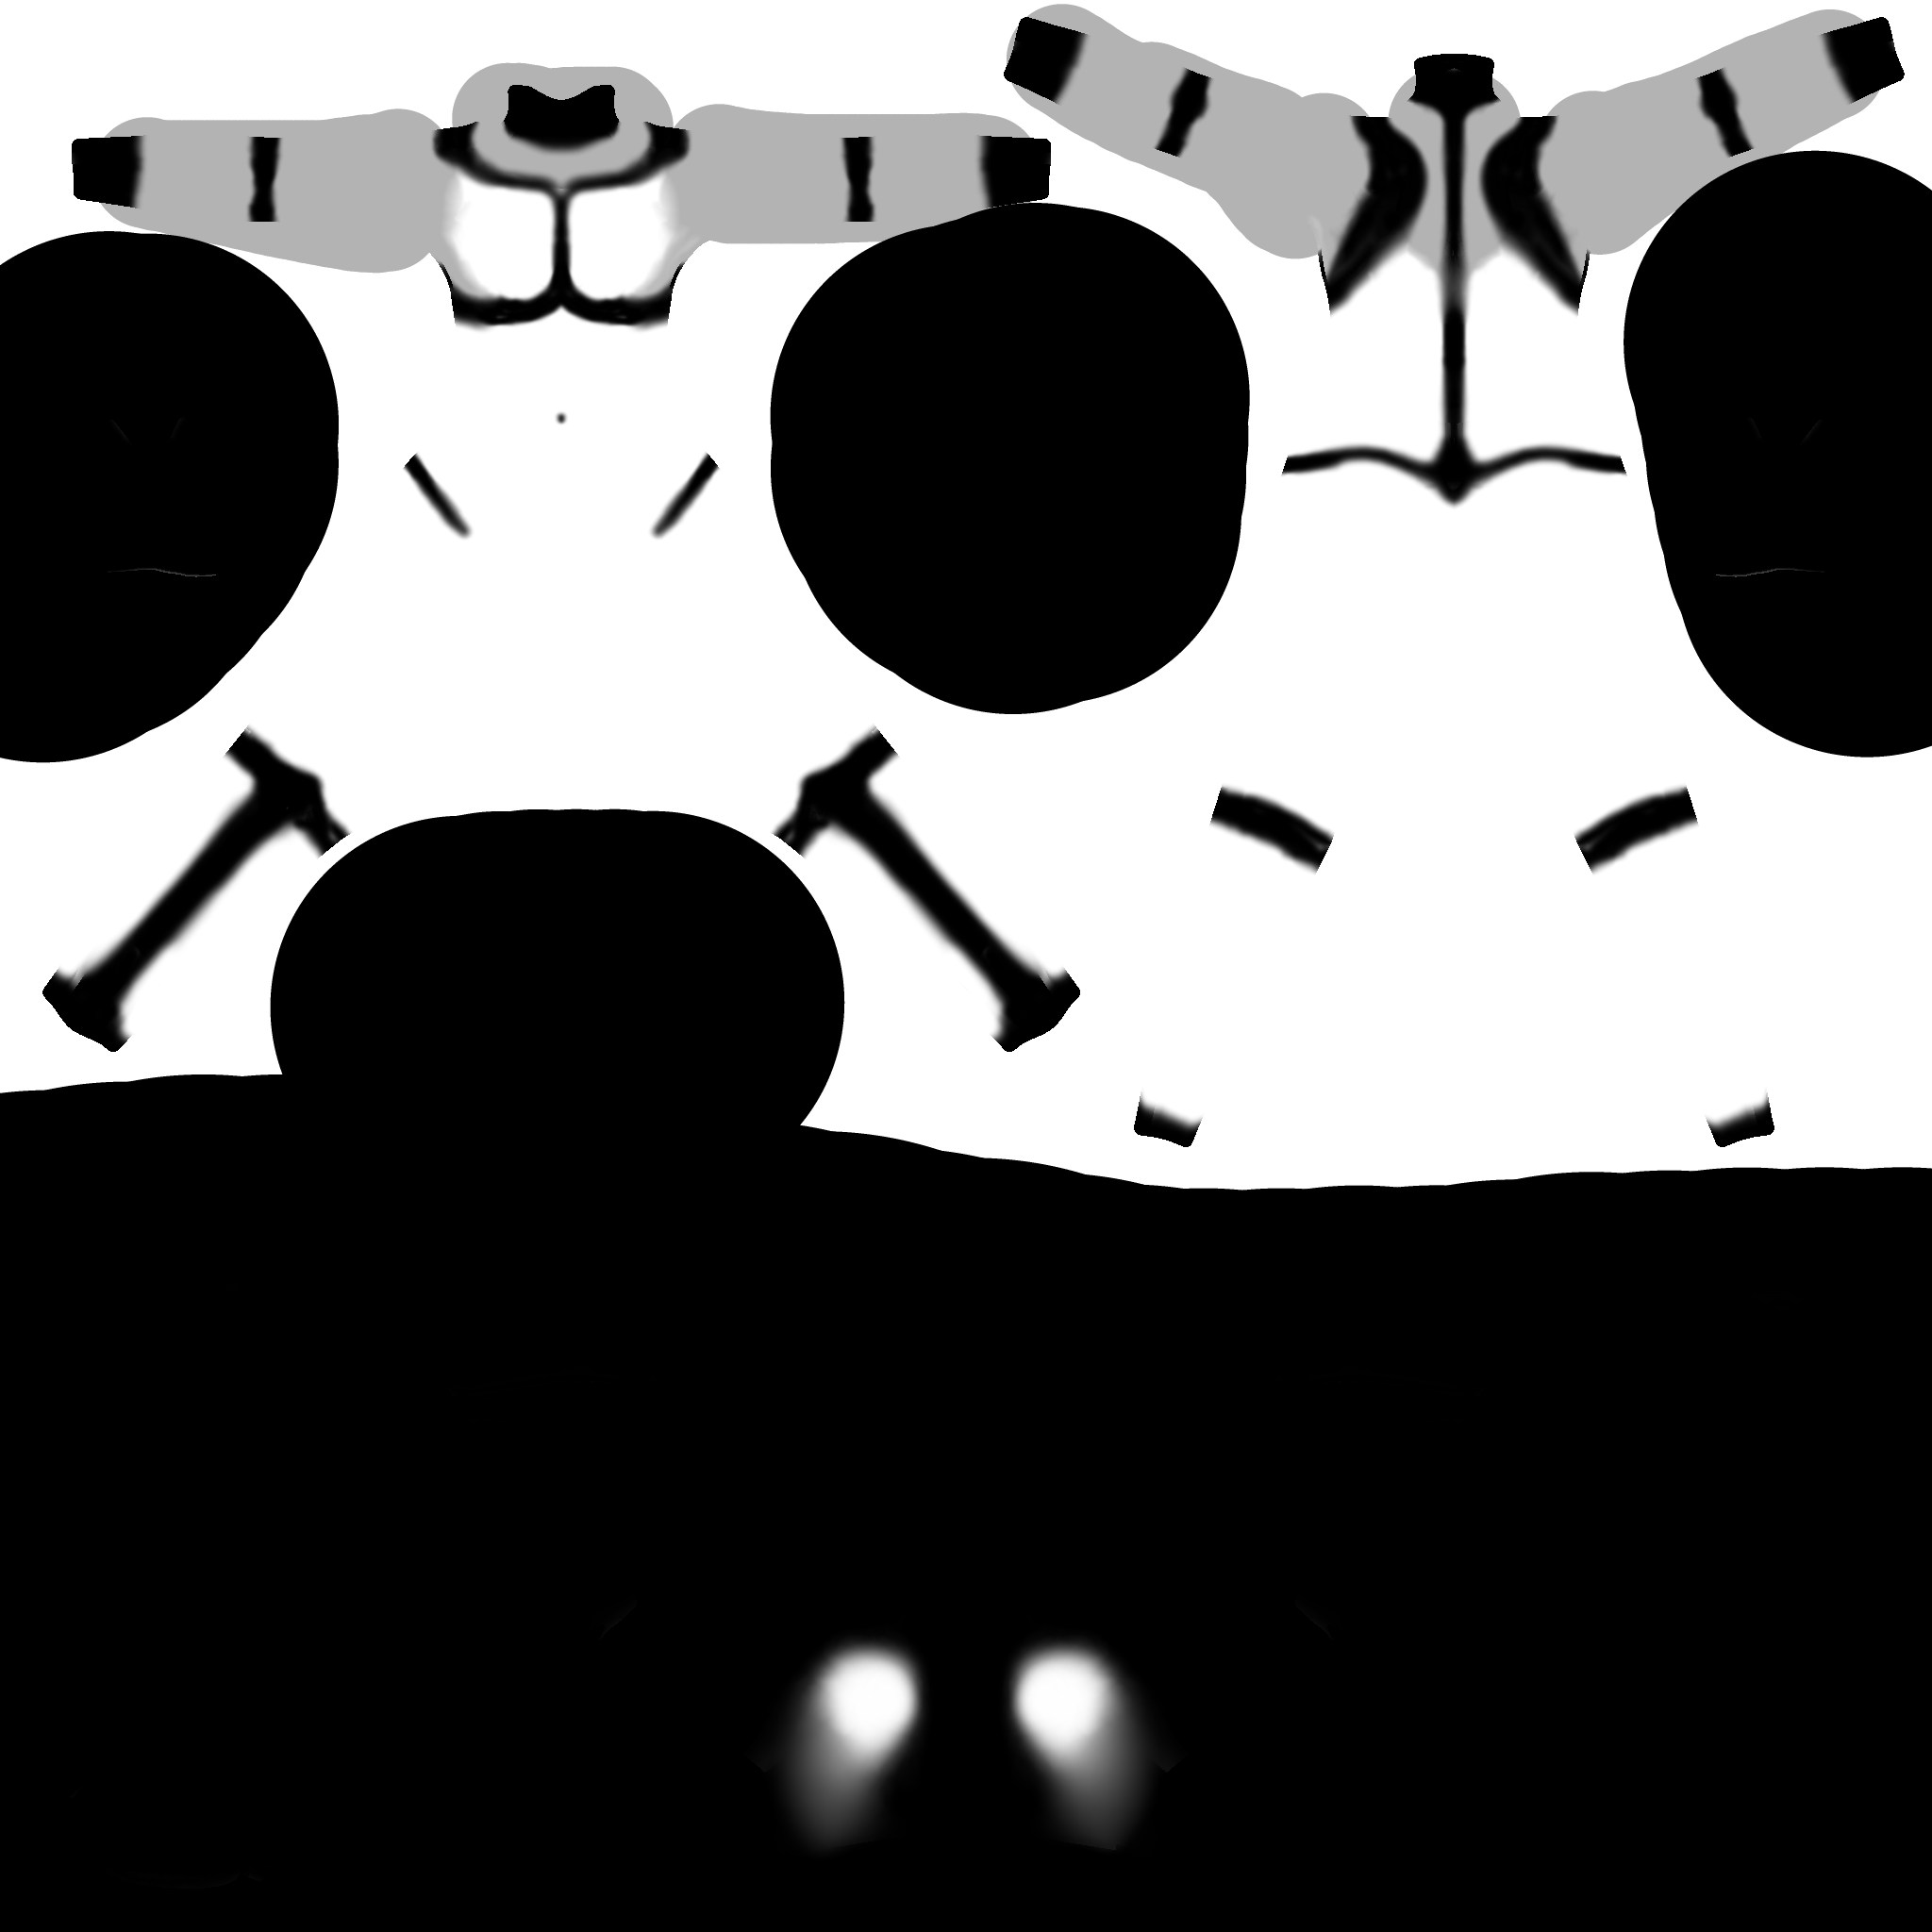
For Rindo-chan’s UV image, the mask might look like this:
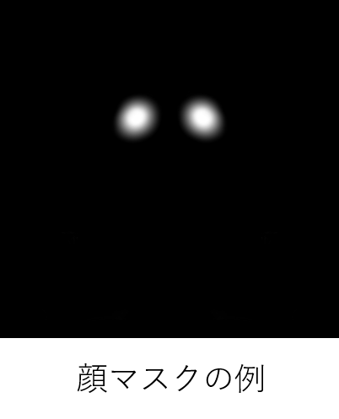
For a face mask, create a texture filled entirely in black once, then paint white only on the cheek areas in the UV and blur the edges.
If you have created a mask for an unsupported avatar, we’d appreciate it if you could share it via this form.
(Mask sharing folder is here)
Old Method (Without Modular Avatar)
This method duplicates the avatar and FX layer for setup, so it is currently not recommended.
Use the new method unless you have a special reason.
Because we use Gesture Manager for testing, it only supports VRChat Creator Companion (VCC).
(Though not recommended, if you test in VRChat directly, it can still work without VCC.)